1 Installation Quick Start
Abstract#
Use the following procedures to install a new version of openSUSE® Leap 42.2. This document gives a quick overview on how to run through a default installation of openSUSE Leap on the x86_64 architecture.
1.1 Welcome to openSUSE Leap #
For more detailed installation instructions see Chapter 2, Installation with YaST.
1.1.1 Minimum System Requirements #
any AMD64/Intel* EM64T processor (32-bit processors are not supported)
1 GB physical RAM (2 GB or more recommended)
3 GB available disk space for a minimal install, 5 GB available for a graphical desktop (more recommended)
Supports most modern sound and graphics cards, 800 x 600 display resolution (1024 x 768 or higher recommended)
1.1.2 Installing openSUSE Leap #
Use these instructions if there is no existing Linux system on your machine, or if you want to replace an existing Linux system.
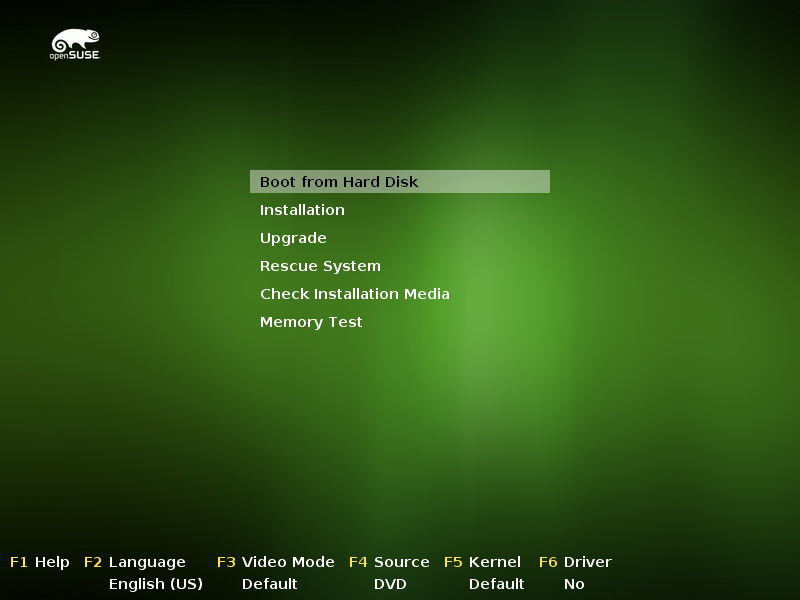
Insert the openSUSE Leap DVD into the drive, then reboot the computer to start the installation program. On machines with a traditional BIOS you will see the graphical boot screen shown below. On machines equipped with UEFI, a slightly different boot screen is used. Secure boot on UEFI machines is supported.
Use F2 to change the language for the installer. A corresponding keyboard layout is chosen automatically. See Section 2.2.1.1, “The Boot Screen on Machines Equipped with Traditional BIOS” or Section 2.2.1.2, “The Boot Screen on Machines Equipped with UEFI” for more information about changing boot options.
Select on the boot screen, then press Enter. This boots the system and loads the openSUSE Leap installer.
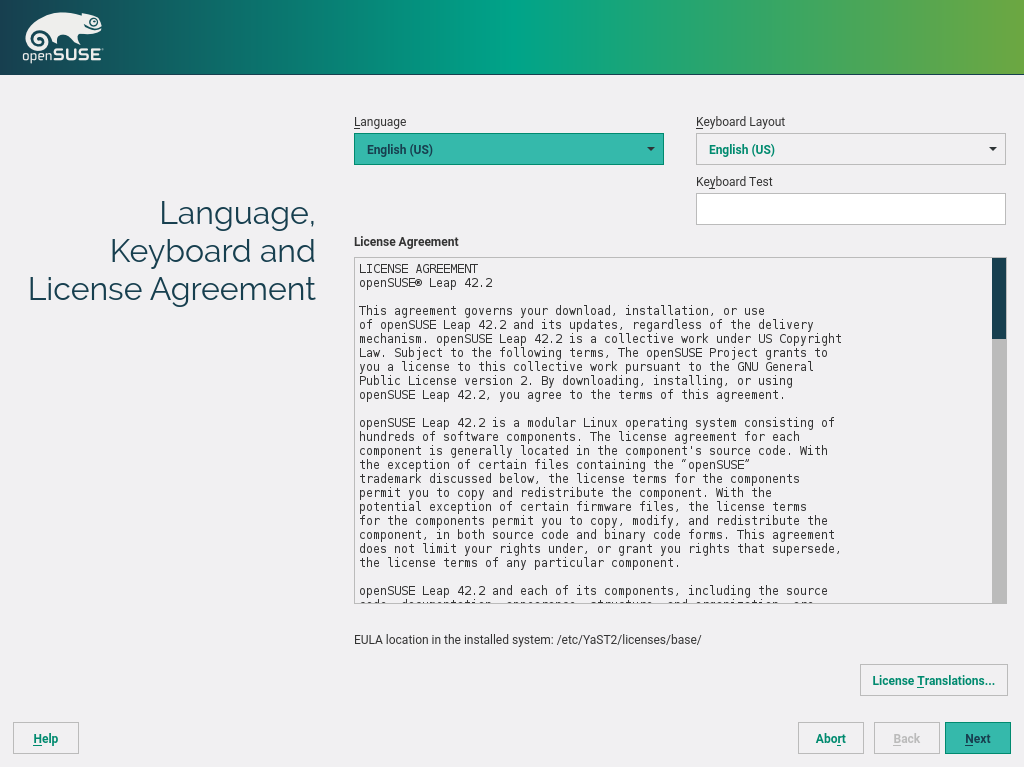
The and are initialized with the language settings you have chosen on the boot screen. Change them here, if necessary.
Read the License Agreement. It is presented in the language you have chosen on the boot screen. are available. Proceed with .
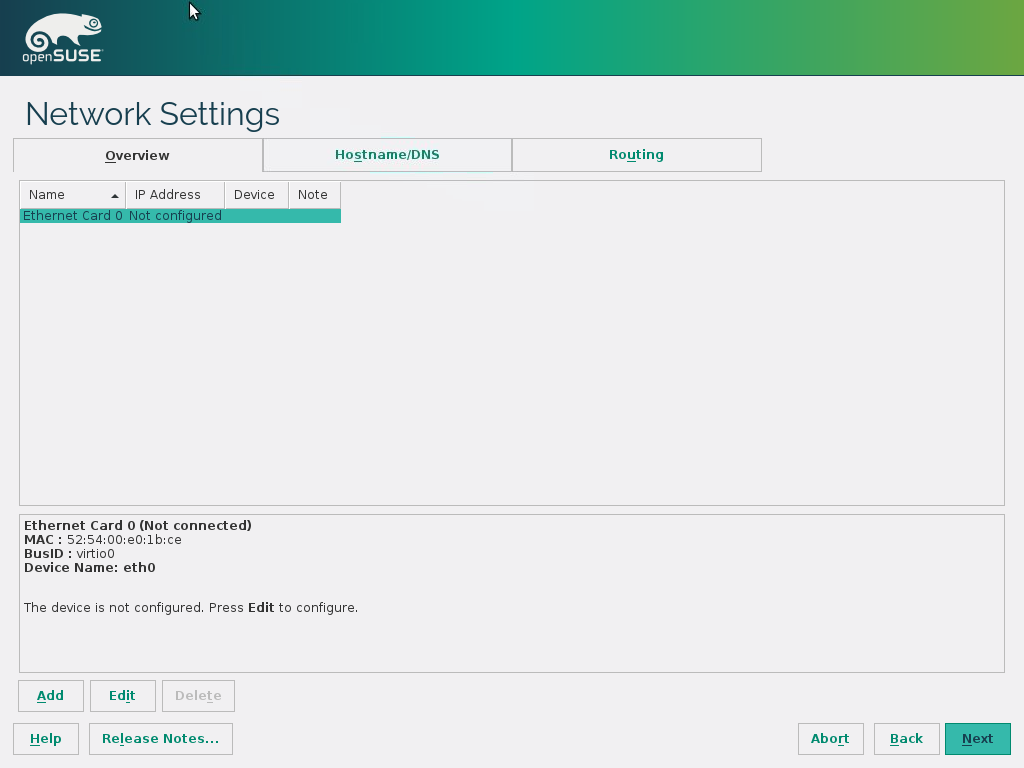
In case no network interface could be configured automatically via DHCP, the dialog opens. If you prefer to install openSUSE Leap with no network connection, choose to proceed. However, configuring the network at this stage is recommended, since it will allow to install the latest updates and security fixes from the online update repository. A working network connection will also give you access to additional software repositories. This step is skipped if a network interface was successfully configured via DHCP.
To configure the network, choose a network interface from the list and click to change its settings. Use the tabs to configure DNS and routing. See Book “Reference”, Chapter 13 “Basic Networking”, Section 13.4 “Configuring a Network Connection with YaST” for more details.
A system analysis is performed, where the installer probes for storage devices, and tries to find other installed systems. When the analasys has finished, the screen launches.
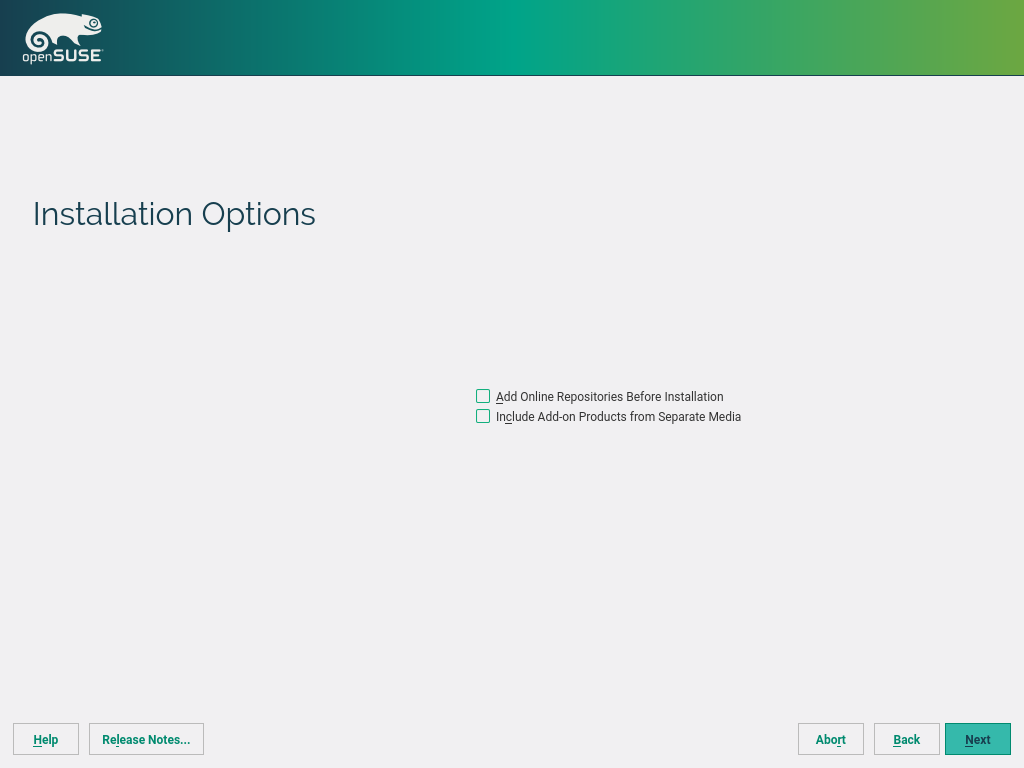
You have got two choices:
Adds the online software sources (so-called “repositories”) for openSUSE Leap from http://download.opensuse.org/distribution/leap/. It also adds the update repository for openSUSE Leap. This ensures that the system will be installed with the most current packages without having to apply the updates after installation. Activating this option is recommended. Later during the installation workflow, you will be able to specify which repositories to add.
This option allows you to add additional software repositories to openSUSE Leap, that are not provided on http://download.opensuse.org/distribution/leap/. Such add-on products may include third-party products and drivers or additional software for your system. Later during the installation workflow, you will be able to specify which repositories to add.

Tip: Release Notes
From this point on, the Release Notes can be viewed from any screen during the installation process by selecting .
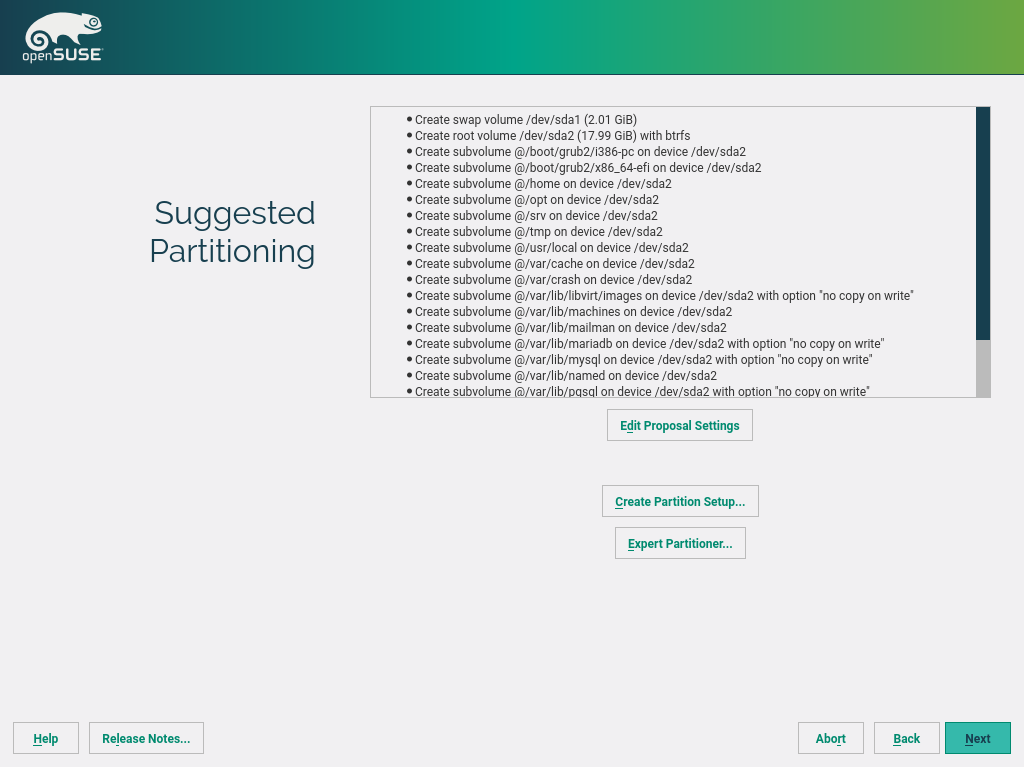
Review the partition setup proposed by the system. If necessary, change it. You have the following options:
Lets you change options for the proposed settings, but not the suggested partition layout itself.
Select a disk to which to apply the proposal.
Opens the described in Book “Reference”, Chapter 5 “Advanced Disk Setup”, Section 5.1 “Using the YaST Partitioner”.
To accept the proposed setup without any changes, choose to proceed.
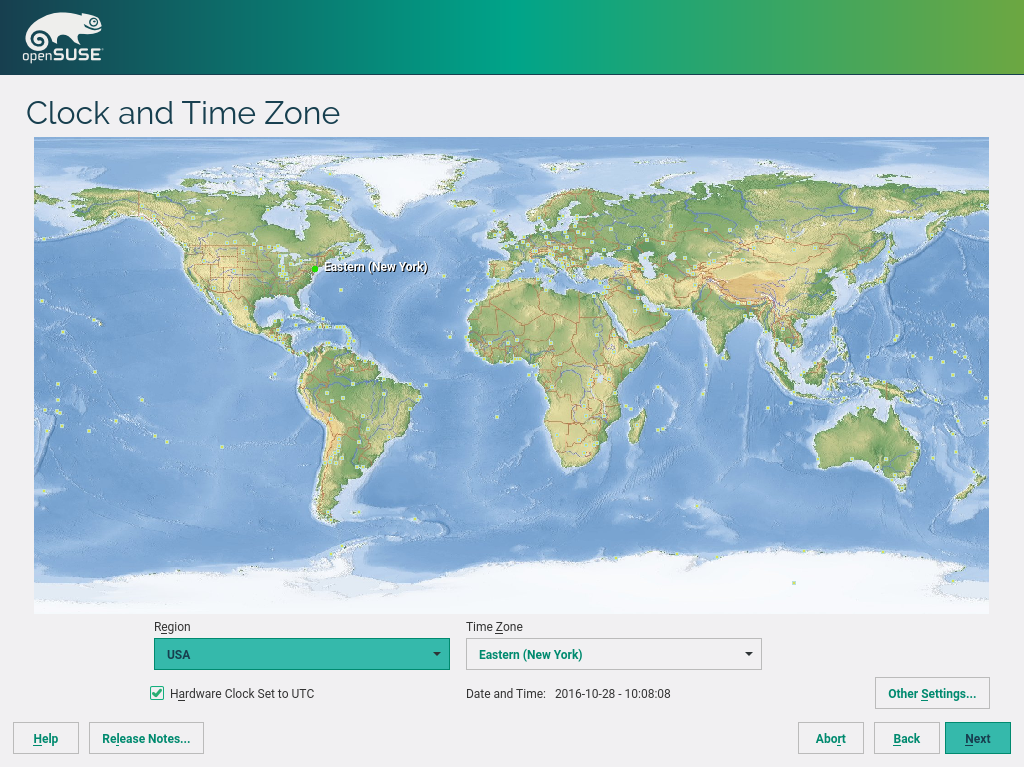
Select the clock and time zone to use in your system. To manually adjust the time or to configure an NTP server for time synchronization, choose . See Section 2.9, “Clock and Time Zone” for detailed information. Proceed with .
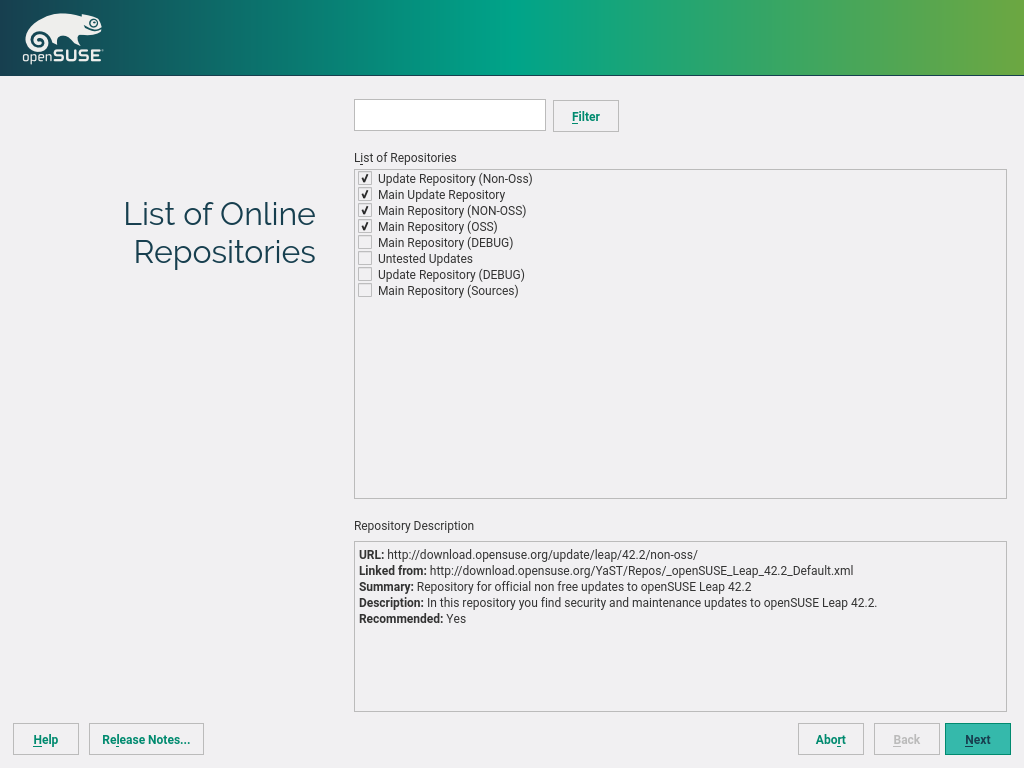
If you have selected earlier during the installation, the screen lets you choose which official openSUSE Leap online repositories to add. The default selection is the recommended choice. In case you would also like to have the repository hosting the sources for the complete distribution, add . The repositories and the are for experts and beta testers only.
After having proceeded with , you need to confirm the license agreement for the online repositories with .
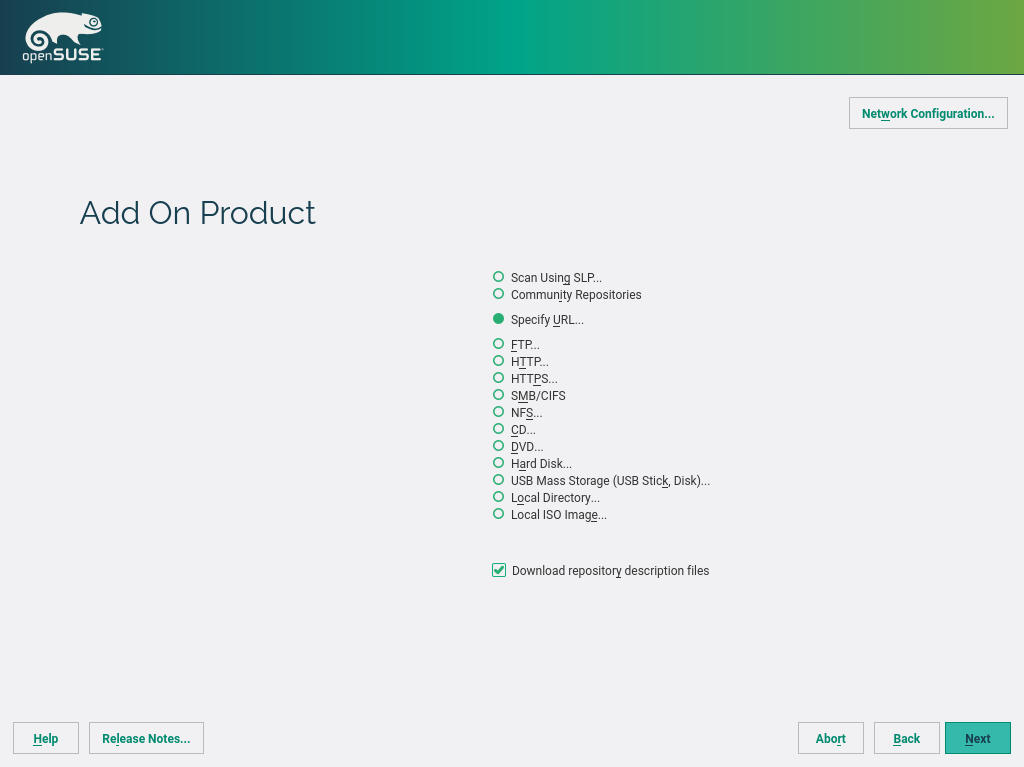
If you have selected earlier during the installation, the step lets you add addtitional repositories.
Activate . Specify a media type, a local path or a network resource hosting the repository and follow the on-screen instructions.
Check to download the files describing the repository now. If deactivated, they will be downloaded after the installation has started. Proceed with and insert a medium if required. Depending on the product's content it may be necessary to accept additional license agreements. Proceed with . Add-On products can also be installed at any time later from the running system as described in Chapter 10, Installing Add-On Products.

Note: The Add-On Product Installation Screen
In case you have also configured the product online repositories, you will not see the screen depicted in the screensjot above, but rather a table showing the products online repositories that already have been added. Choose to advance to the screen.
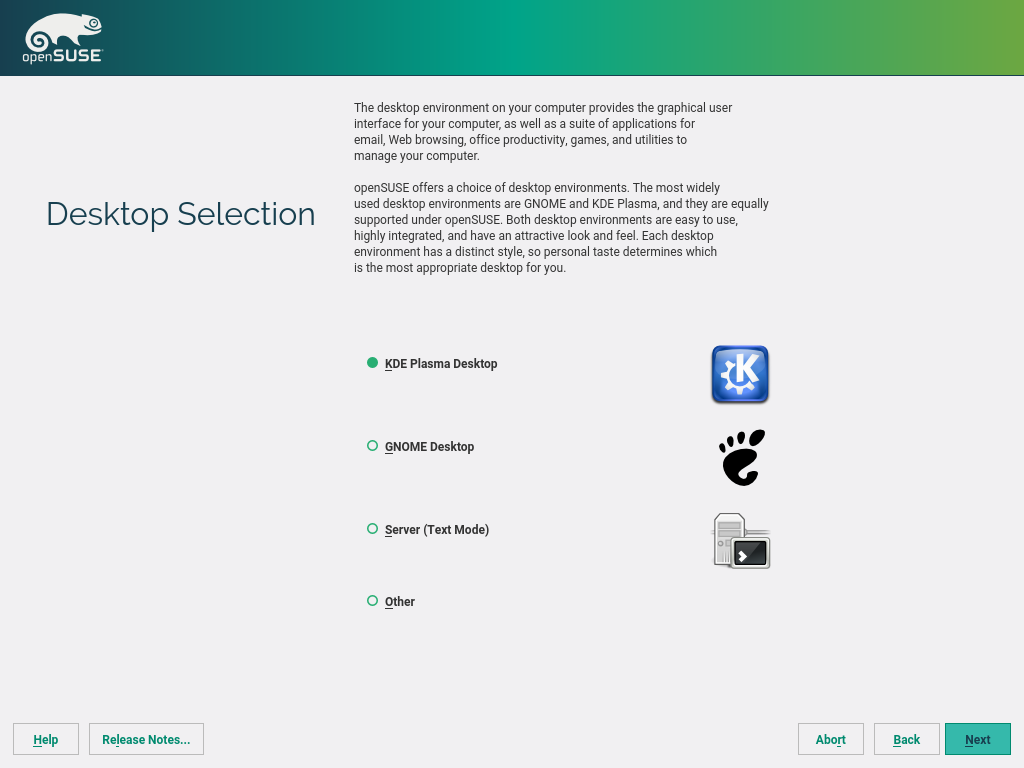
Select the desktop system you would like to use. and are among the most widely used desktops on Linux. If you prefer a different desktop, choose for more options. The and the are fast and lightweight desktop environments suitable for modest hardware. With , install a graphical window manager that allows for running stand-alone X applications and console windows but does not provide the usual integrated desktop functionality. In , only console terminals are available.
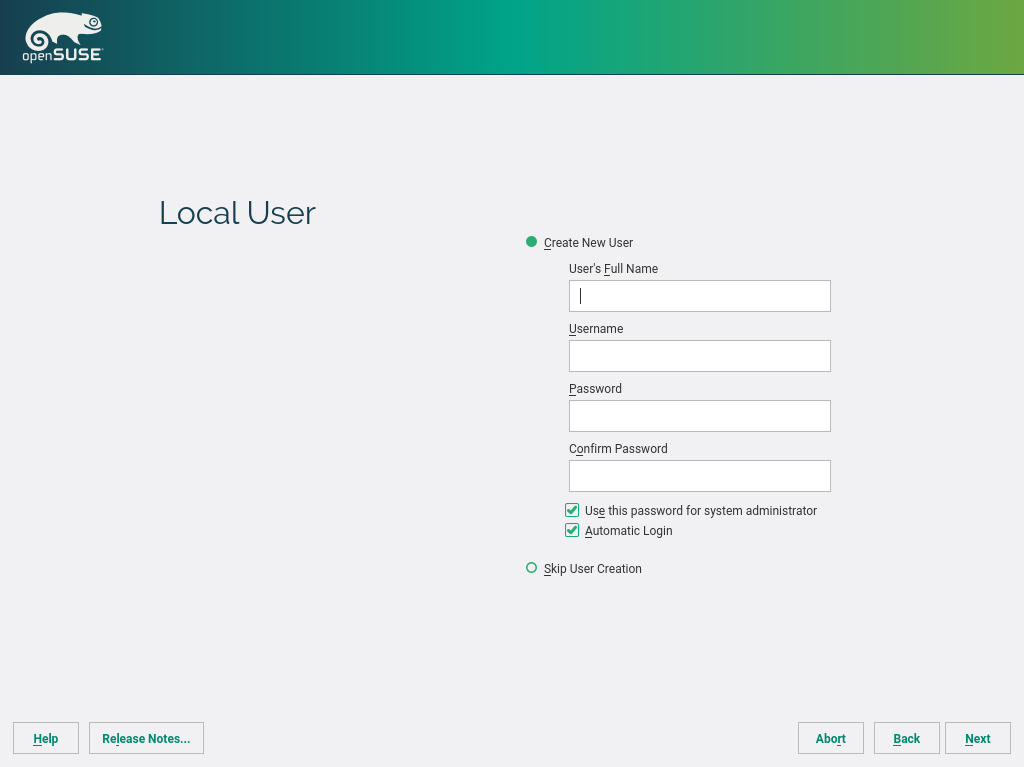
To create a local user, type the first and last name in the field, the login name in the field, and the password in the field.
The password should be at least eight characters long and should contain both uppercase and lowercase letters and numbers. The maximum length for passwords is 72 characters, and passwords are case-sensitive.
For security reasons it is also strongly recommended not to enable the . You should also not but rather provide a separate
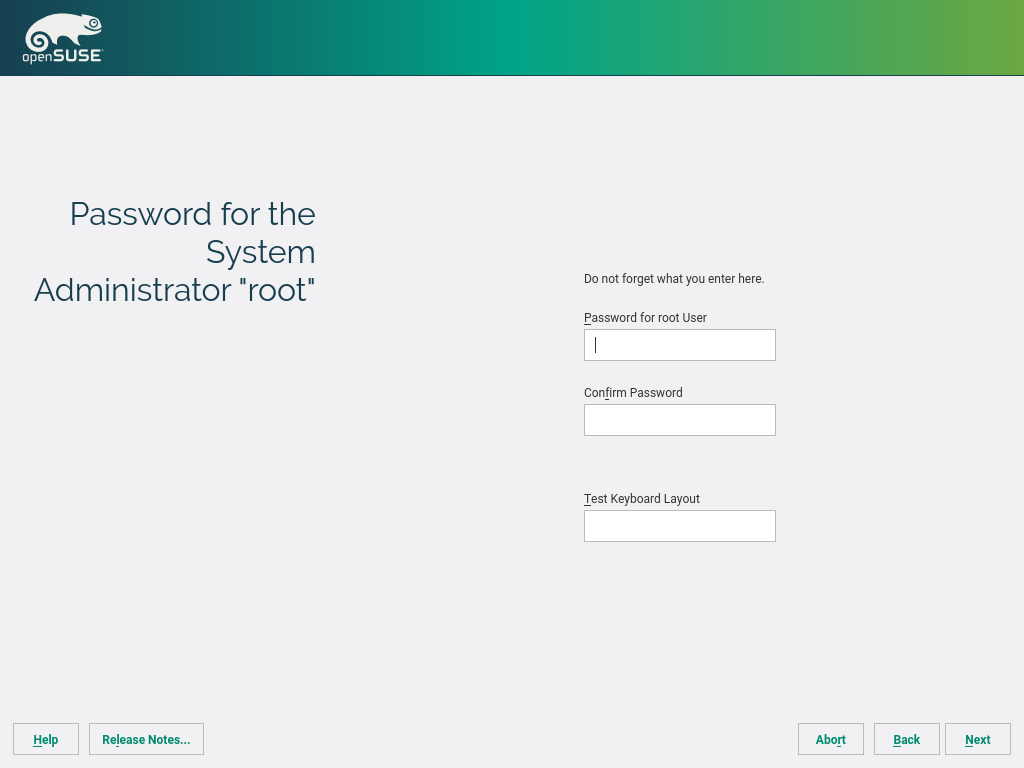
rootpassword in the next installation step. Proceed with .Type a password for the system administrator account (called the
rootuser). This step is skipped if you have chosen in the previous step.You should never forget the
rootpassword! After you entered it here, the password cannot be retrieved. See Section 2.14, “Password for the System Administratorroot” for more information. Proceed with .
Tip: Passwords and Keyboard Layout
It is recommended to only use characters that are available on an English keyboard. In case of a system error or when you need to start your system in rescue mode a localized keyboard might not be available.
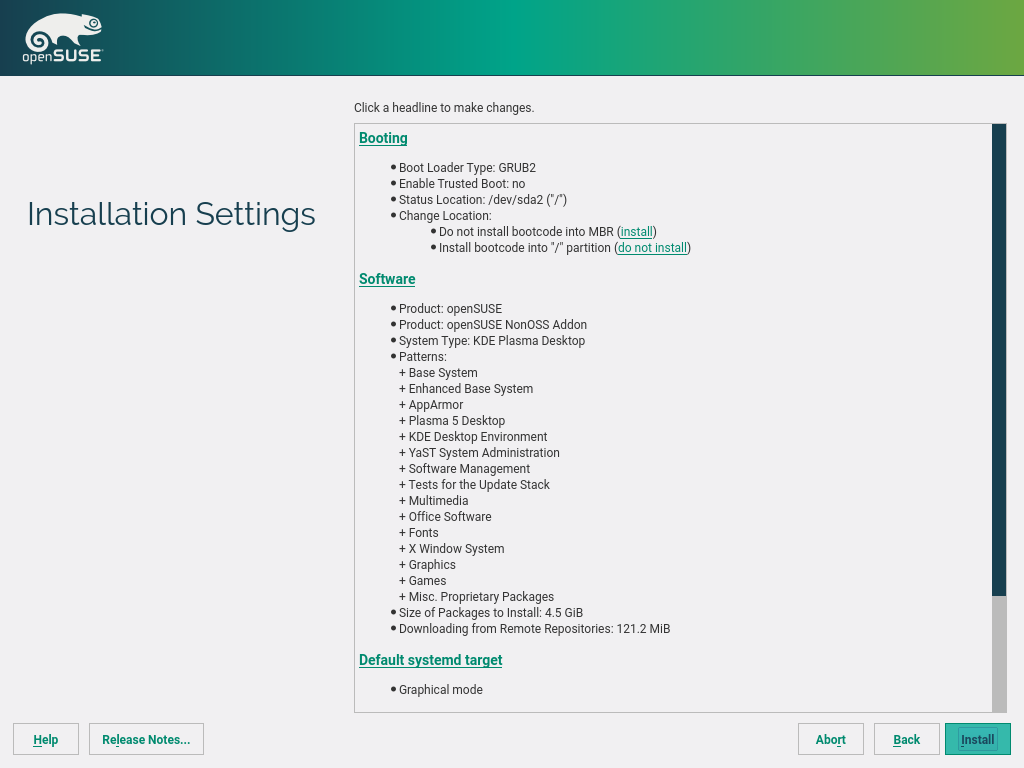
Use the screen to review and—if necessary—change several proposed installation settings. The current configuration is listed for each setting. To change it, click the headline. Some settings, such as firewall or SSH can directly be changed by clicking the respective links.

Tip: Remote Access
Changes you can make here, can also be made later at any time from the installed system. However, if you need remote access directly after the installation, you should adjust the settings by opening the SSH port and enablöing the SSH server.
The default scope of software includes the base system and X Window with the selected desktop. Clicking opens the screen, where you can change the software selection by selecting or deselecting patterns. Each pattern contains several software packages needed for specific functions (for example, Web and LAMP server or a print server). For a more detailed selection based on software packages to install, select to switch to the YaST . See Chapter 9, Installing or Removing Software for more information.
This section shows the boot loader configuration. Changing the defaults is only recommended if really needed. Refer to Book “Reference”, Chapter 12 “The Boot Loader GRUB 2” for details.
By default, the Firewall is enabled with the active network interface configured for the external zone. See Book “Security Guide”, Chapter 15 “Masquerading and Firewalls”, Section 15.4 “SuSEFirewall2” for configuration details.
The SSH service is disabled by default, its port (22) is closed. Therefore logging in from remote is not possible by default. Click to toggle these settings.
By default, the system boots into the target, with network, multiuser and display manager support. Switch to if you do not need to log in via display manager.
View detailed hardware information by clicking . In the resulting screen you can also change —see Section 2.15.5, “” for more information.
After you have finalized the system configuration on the screen, click . Depending on your software selection you may need to agree to license agreements before the installation confirmation screen pops up. Up to this point no changes have been made to your system. After you click a second time, the installation process starts.
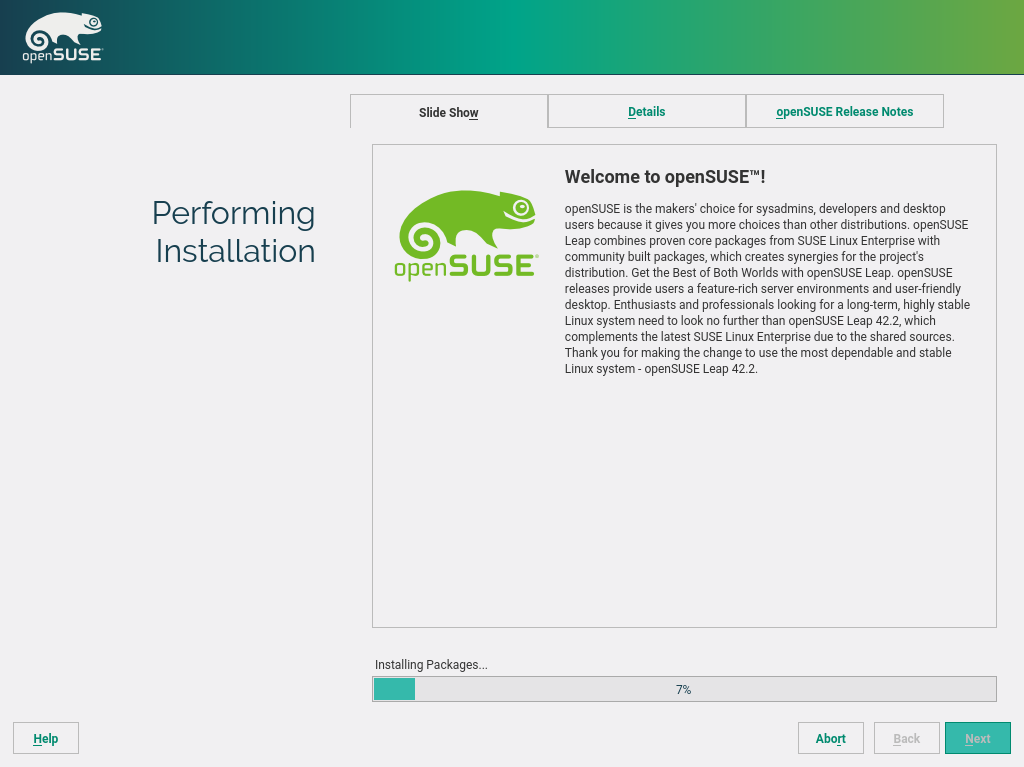
During the installation, the progress is shown in detail on the tab.
After the installation routine has finished, the computer is rebooted into the installed system. Log in and start YaST to fine-tune the system. If you are not using a graphical desktop or are working from remote, refer to Book “Reference”, Chapter 1 “YaST in Text Mode” for information on using YaST from a terminal.

