Security and Hardening Guide
- Preface
- 1 Security and confidentiality
- I Authentication
- II Local security
- 9 Physical security
- 10 Software management
- 11 File management
- 12 Encrypting partitions and files
- 13 Storage encryption for hosted applications with cryptctl
- 14 User management
- 15 Restricting
cronandat - 16 Spectre/Meltdown checker
- 17 Configuring security settings with YaST
- 18 The Polkit authentication framework
- 19 Access control lists in Linux
- 20 Intrusion detection with AIDE
- III Network security
- IV Confining privileges with AppArmor
- 27 Introducing AppArmor
- 28 Getting started
- 29 Immunizing programs
- 30 Profile components and syntax
- 31 AppArmor profile repositories
- 32 Building and managing profiles with YaST
- 33 Building profiles from the command line
- 34 Profiling your Web applications using ChangeHat
- 35 Confining users with
pam_apparmor - 36 Managing profiled applications
- 37 Support
- 38 AppArmor glossary
- V SELinux
- VI The Linux Audit Framework
- A GNU licenses
25 Managing a PKI with XCA, X certificate and key manager #Edit source
Abstract#
Managing your own public key infrastructure (PKI) is traditionally
done with the openssl utility. For admins who
prefer a graphical tool, openSUSE Leap 15.6 includes XCA,
the X Certificate and Key management tool
(https://hohnstaedt.de/xca).
XCA creates and manages X.509 certificates, certificate requests, RSA, DSA and EC private keys, Smartcards and certificate revocation lists (CRLs). XCA supports everything you need to create and manage your own certificate authority (CA). XCA includes customizable templates that can be used for certificate or request generation. This chapter describes a basic setup.
25.2 Creating a new PKI #Edit source
XCA stores all cryptographic data in a database. When you are using XCA for the first time, and creating a new PKI, you must first create a new database by clicking (Figure 25.1, “Create a new XCA database”).
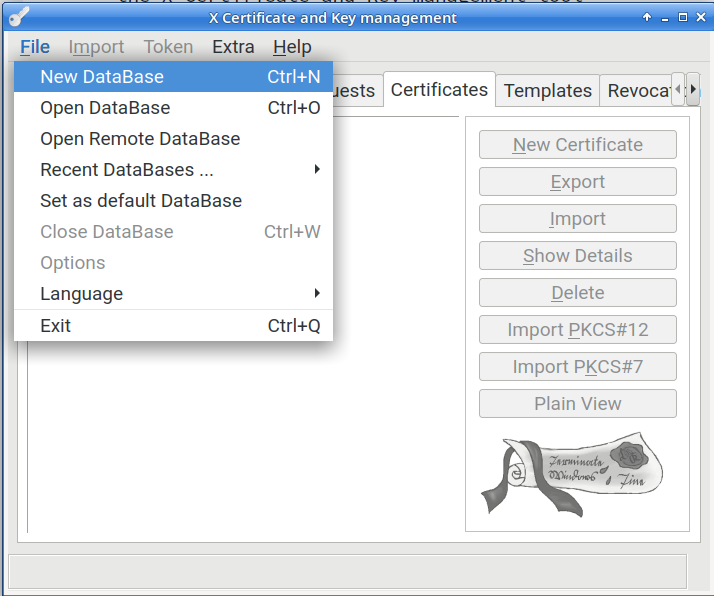
Figure 25.1: Create a new XCA database #
25.2.1 Creating a new root CA #Edit source
The following steps describe how to create a new root CA.
Click the tab.
Click the button.
Click the tab. At the bottom of the window, under , select the template, then click .
Click the tab. Create an , which identifies your new root CA internally, in XCA only.
Complete the fields in the section. Use the button to add any additional elements, if you require any.
In the drop-down, select your preferred private key if you have one, or generate a new key.
Click the tab. Edit any attributes as necessary. The default is 10 years. The certificate revocation list distribution point is part of the issued certificates, and it is a good practice to use a common URL for all your certificates, for example, http://www.example.com/crl/crl.der. When you are finished click the button.
25.2.2 Creating a signed host certificate #Edit source
The next step is to create a host certificate signed by your new certificate authority.
Click the tab, then click the button.
On the tab, select the and click the button. This enters the appropriate values in the , , and tabs. In the section, select the certificate that you created in Section 25.2.1, “Creating a new root CA”.
Click the tab. Create an internal name, which is for display purposes in XCA. A good practice is to use the host name, or the fully qualified domain name. Then fill in the fields in the section. For host certificates, the common name must be the FQDN that your users use. This can be the canonical name of the host, or an alias. For example, if jupiter.example.com is your web server and it has a DNS CNAME entry of www.example.com, then you want the value in the certificate to be www.example.com. To add any additional parts to the distinguished name, use the drop-down box and Add button. Select the desired private key or generate a new one.
Click the tab. The default is one year. If you change this, click the button.
It is a good practice to designate a certificate revocation list location. The location must be unique for this root certificate. XCA exports CRLs in either PEM or DER format with appropriate suffixes, so this should be considered when selecting the URL, for example something like http://www.example.com/crl/crl.der. On the line click the button. Type in your URI, then click . Click and .
Click the button.
25.2.3 Revoking a Certificate #Edit source
Click the tab.
Right-click the certificate that you want to revoke, then click .
Right-click the CA certificate that signed the certificate you want to revoke. Click .
Click the button in the dialog.
Click the tab in the main window. Right-click the CRL you just generated and select t. Select the desired format (DER) and click .
Copy the exported CRL to the location published in the issued certificate's .