17 gFTP: Transferring Data From the Internet
Abstract#
gFTP is a multithreaded file transfer client. It supports the FTP, FTPS (control connection only), HTTP, HTTPS, SSH, and FSP protocols. Furthermore, it allows the transfer of files between two remote FTP servers via FXP. To start gFTP, click › › .
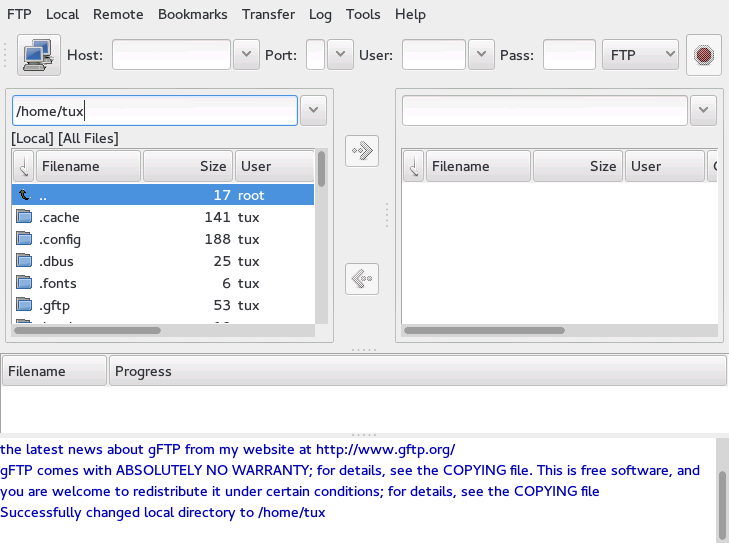
Figure 17.1: gFTP #
17.1 ASCII vs. Binary Transfers #
There are two common ways of transferring files via FTP: ASCII and
binary. ASCII mode transfers files as text. ASCII
files are .txt, .asp,
.html, and .php files, for
example. Binary mode transfers files as raw data.
Binary files are .wav, .jpg,
.gif, and mp3 files, for
example.
To change the transfer mode, click and select or .
When transferring ASCII files from Linux/Unix to Windows or vice versa, check the option › › › to ensure that newline characters are correctly converted. This option will automatically be disabled in Binary mode.
17.2 Connecting to a Remote Server #
To connect to a remote server, do the following:
Click › .
Specify a URL to connect to and click .
Specify your user name and click . Then specify your password and click . To connect anonymously, leave the user name blank.
If the connection is successful, the right part of the gFTP window lists files from the remote computer. The file listing on the left side continues to show files from your local computer. You can now upload and download files via drag and drop or by using the arrow buttons.
To bookmark a site you access frequently, click › . Specify a name for the bookmark, then click . The new bookmark is added to your list of bookmarks.
17.3 Transferring Files #
In the following figure, the file list on the right contains the remote server's directory of files. The file list on the left side contains your local computer's directory of files (on your hard disk or network).
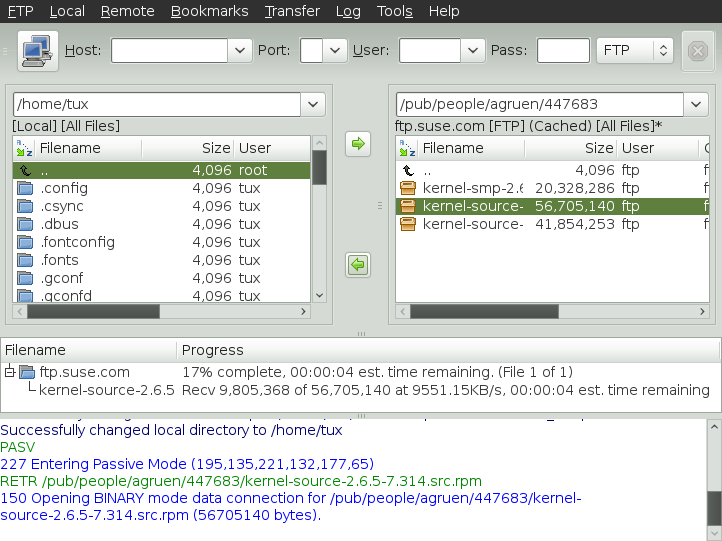
Figure 17.2: gFTP File Transfer #
To download files, select the files you want to download in the remote list of files, then click the left arrow button. The progress of each download is listed in the field in the middle of the window. If the transfer is successful, the files appear in the directory listing on the left.
To upload a file, select the files you want to upload in your local directory listing on the left, then click the right arrow button. The progress of each download is listed in the field in the middle of the window. If the transfer is successful, the files appear in the remote directory listing on the right.
To modify preferences for your downloads, click › .
17.4 Setting Up an HTTP Proxy Server #
To set up an HTTP proxy server, do the following:
Click › , then select the tab.
Enter the and . If applicable, also provide your login credentials for the proxy server. Choose a proxy type from the drop-down box.
Click the tab, and enter the same proxy server information as above in the dialog. Note that port numbers for FTP and HTTP proxy may differ.
Click .
17.5 For More Information #
You can find more information about gFTP at http://www.gftp.org.